
Live Beautifully at Home


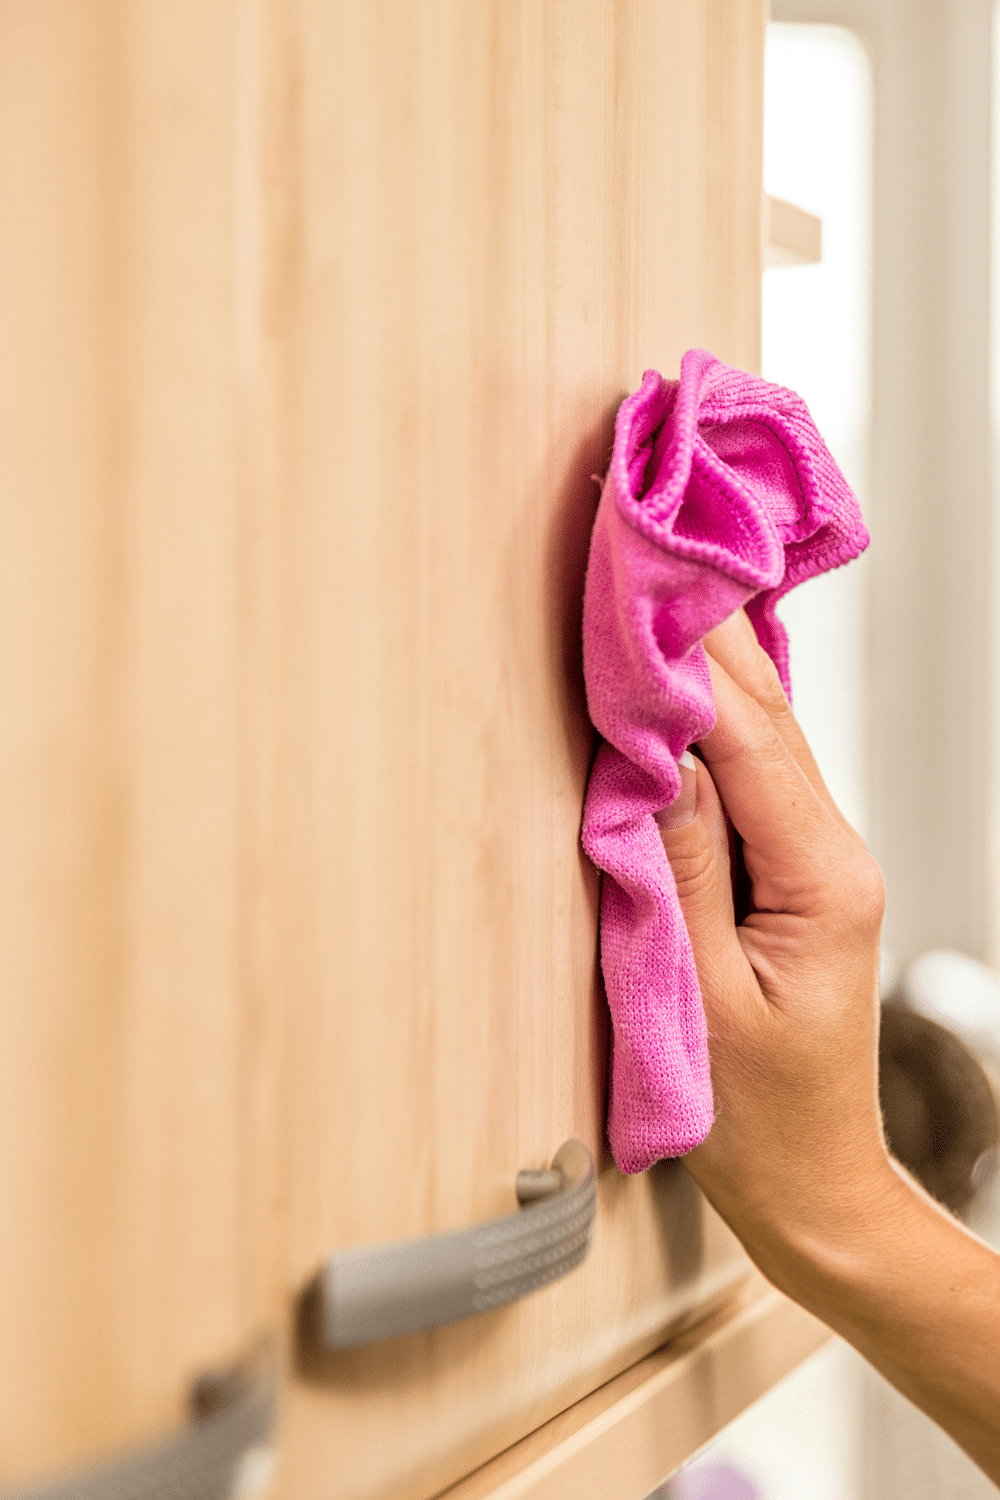
How to Clean Kitchen Cabinets and Bring Back a Fresh, Welcoming Feel to Your Kitchen
 Rhonda
My Blue Creek Home Founder & Editor
I spent over 12 years in decorative painting and faux finishing, starting with a faux finishing company I co-owned in Mississippi that...
November 19, 2026
11 min read
Leave a comment
Image Notice. Some images featured in this article may originate from third-party sources and are used for illustrative purposes only. Please review our Image Credits Policy for full attribution information.
There is something about a clean kitchen that makes the whole home feel calmer. Yet kitchen cabinets are one of those places that quietly collect grease, fingerprints, cooking splashes, dust, and little marks that seem to appear overnight. You wipe the counters, wash the dishes, sweep the floor, then look up and notice that the cabinet doors still look dull. If you have been wondering how to clean kitchen cabinets without damaging their finish or spending an entire afternoon scrubbing, I want to make this job feel much easier.
The secret is knowing what kind of cabinets you have, choosing the right cleaning solution, and working in the right order. You do not need a cupboard full of expensive products. A few gentle supplies, a little patience, and a good routine can make a noticeable difference.
I love a kitchen that feels fresh but still looks warm and lived in. That is exactly the feeling I want you to have when you finish this little cleaning project.
Why I Think Clean Kitchen Cabinets Make Such a Difference
Credit: Canva
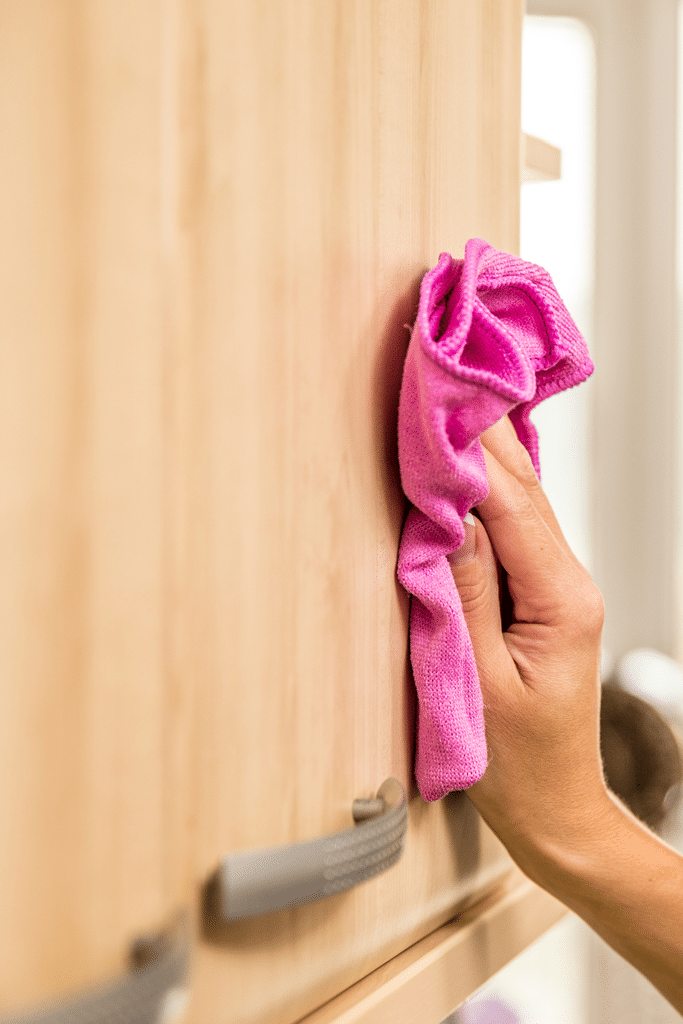
Kitchen cabinets cover a large part of the room, so even a thin layer of grease can change how the entire kitchen looks. When the doors are clean, the countertops feel brighter, the hardware catches the light, and the room feels easier to enjoy.
The tricky part is that kitchen dirt is not always easy to see. Grease collects around handles, cooking steam settles near the stove, and dust sticks to the tops of upper cabinets. A quick wipe with a dry cloth rarely removes everything.
I want you to finish with cabinets that feel clean to the touch, without sticky spots, cloudy marks, or damaged finishes. The process is simple when you give each area the attention it needs.
A few quick tips I would keep in mind before starting:
- Always test your cleaning solution on a small hidden area first.
- Use a soft microfiber cloth to avoid scratching cabinet finishes.
- Wring out your cloth well. Excess water can damage wood and cabinet edges.
- Clean from the top of the cabinets down to the lower doors.
- Dry every surface after cleaning, especially around corners and handles.
What You Will Need
You probably have several of these supplies already. I would keep everything together in a small cleaning basket before getting started.
- Two or three microfiber cloths, approximately $5 to $10 for a pack.
- A soft cleaning sponge, approximately $2 to $4.
- A small bowl or bucket of warm water.
- Mild dish soap, approximately $2 to $5.
- A spray bottle, approximately $2 to $4.
- A soft toothbrush for corners and hardware, approximately $2 to $4.
- A dry cotton towel for drying cabinet doors.
- White vinegar, optional, approximately $2 to $4.
- A small step stool for reaching upper cabinets safely.
You do not need every specialist cleaning product advertised for kitchens. I would spend my money on good microfiber cloths and a gentle dish soap first.
How I Identify My Cabinet Finish Before Cleaning
This is the first thing I would do because the wrong cleaning product can leave permanent marks. Not every cabinet material reacts in the same way to water, soap, or household cleaners.
Take a moment to identify the finish before mixing anything.
Natural wood cabinets often have a protective finish, but the wood itself can be sensitive to moisture. Use a damp cloth with a little mild dish soap. Avoid soaking the surface or allowing water to sit around the edges.
If you have oak, maple, cherry, or walnut cabinets, check the manufacturer’s cleaning advice if it is available.
Pay special attention to painted edges and corners. These areas can show wear sooner, especially around frequently used handles.
These cabinets have a vinyl surface that can be sensitive to high heat. Use a gentle solution with a soft cloth. Keep them away from steam and very hot cleaning water.
Glass inserts need a separate cleaning approach. Wipe the surrounding cabinet frame first, then clean the glass with a suitable glass cleaner. Spray the cleaner onto your cloth, not directly into the frame.
Credit: Canva
If you are unsure about your cabinet material, check the manufacturer’s instructions before using vinegar, baking soda, or commercial degreasers.
How I Clean Kitchen Cabinets From Top to Bottom
Once you know the cabinet finish, it is time to prepare the kitchen. I prefer to work in small sections because cleaning every cabinet door at once can become tiring.
Start by removing anything sitting on top of the cabinets. This includes decorative objects, baskets, jars, and anything that has collected dust.
If your cabinets extend to the ceiling, use a suitable step stool. Avoid leaning over countertops or standing on chairs to reach high areas.
Next, empty the cabinet interiors if you are planning a complete deep clean. For a simple exterior cleaning, you can leave everything inside.
Here is the order I would follow:
Remove loose dust
Use a dry microfiber cloth to remove dust from the cabinet tops, frames, and door surfaces.
Work gently around decorative grooves and raised details. A soft brush or clean toothbrush helps reach narrow corners.
Prepare the cleaning solution
Mix approximately two cups of warm water with one teaspoon of mild dish soap.
Stir gently until the water is slightly soapy. You do not need a thick layer of bubbles.
How I Remove Sticky Grease Without Damaging Cabinets
Grease is usually the part that takes the most patience. Cooking oils mix with dust, then settle into a sticky layer that ordinary wiping cannot remove.
The area around the stove is usually the first place I would inspect. Also check the cabinet doors directly above cooking appliances, the sides of nearby cabinets, and the handles you touch throughout the day.
For particularly stubborn areas, repeat the process instead of pressing harder. Scrubbing aggressively can damage paint or leave scratches.
What about white vinegar?
I know vinegar is a popular household cleaning ingredient, but I would not use it on every cabinet finish. Acidic cleaners can affect certain wood finishes, painted surfaces, and protective coatings.
If your cabinet manufacturer approves vinegar for your particular material, follow the recommended dilution. Otherwise, stick with mild dish soap and water.
What about baking soda?
Baking soda can be abrasive, especially when rubbed against delicate finishes. I would skip it on glossy, painted, or coated cabinets.
If grease is especially stubborn, a cabinet safe commercial degreaser may be worth purchasing. Prices often range from $5 to $12, depending on the brand and size.
Always check the label for compatibility with your cabinet material. Never mix different household cleaning products.
How I Give Cabinet Handles and Corners Extra Attention
You can have beautifully clean cabinet doors, but dirty handles can make the kitchen feel unfinished.
Handles collect fingerprints, cooking oils, hand lotion, and everyday dirt. The area immediately surrounding them often has a slightly darker appearance.
For metal hardware, the cleaning method depends on the material. Brass, bronze, stainless steel, and painted hardware can all have different care requirements.
Avoid strong acidic cleaners on brass or delicate finishes. Some hardware has a special coating that can be damaged by abrasive products.
Cabinet hardware is also an easy detail to refresh when you are thinking about a kitchen update. New handles can cost around $2 to $8 each for simple styles, while decorative options can cost considerably more.
How I Clean Inside Kitchen Cabinets Without Making a Bigger Mess
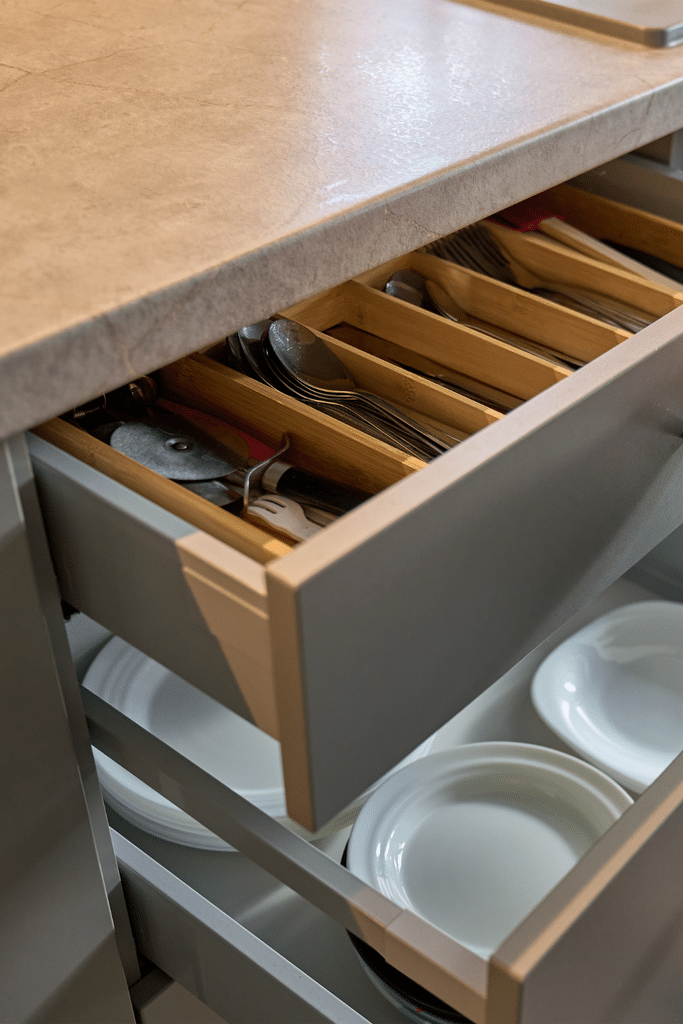
The inside of kitchen cabinets deserves attention too, especially where food, dishes, and cooking supplies are stored.
I would start with one cupboard at a time. Emptying every cabinet at once can leave you with a kitchen full of dishes and nowhere to put them.
Place the contents on a clean table or countertop. If you are cleaning food storage cabinets, check expiration dates while everything is out.
Remove crumbs and loose dust with a handheld vacuum or a dry microfiber cloth.
For shelves with sticky marks, use a cloth lightly dampened with warm water and mild dish soap. Wipe the area gently, then follow with a clean damp cloth.
How I Keep Clean Kitchen Cabinets Looking Fresh Longer
Once you have finished the deep cleaning, the easiest way to protect your work is to create a small maintenance routine.
Grease becomes harder to remove when it stays on cabinet doors for weeks. A quick wipe after cooking can prevent much of that buildup.
I would keep a clean microfiber cloth in a nearby kitchen drawer so it is easy to reach.
Every day
- Wipe visible fingerprints from frequently touched doors.
- Clean splashes near the stove.
- Dry any water marks around the sink area.
- Give cabinet handles a quick wipe when needed.
Every week
- Wipe the cabinet doors around the cooking area.
- Clean the handles and the edges of frequently used cupboards.
- Check for sticky spots around the stove and countertop.
Every month
- Clean all cabinet fronts with a gentle soap solution.
- Dust the tops of upper cabinets.
- Clean decorative grooves and corners.
- Check cabinet hinges for visible dirt.
Every three to six months
- Deep clean the inside of cupboards.
- Remove crumbs from shelves and drawers.
- Check shelf liners and replace damaged ones.
- Inspect cabinet finishes for peeling, scratches, or moisture damage.
You can adjust this routine depending on how much you cook. A busy kitchen may need more frequent attention around the stove, while cabinets in less used areas can go longer between deep cleans.
I also recommend using your kitchen exhaust fan while cooking. It helps remove airborne grease and moisture before they settle on cabinet surfaces.
If you have a particularly steamy kitchen, ventilation makes a noticeable difference over time.
What I Would Avoid When Cleaning Kitchen Cabinets
Sometimes the biggest difference comes from knowing which cleaning habits to skip. Cabinet finishes can be surprisingly delicate, even when they look sturdy.
These are four common mistakes I would warn a friend about before she starts.
Using too much water
A soaking wet cloth may seem harmless, but moisture can seep into seams, wood edges, and painted surfaces. Always wring out your cloth well, then dry each section before moving on.
Scrubbing with rough sponges
Steel wool, abrasive pads, and rough brushes can leave scratches or dull spots. A soft microfiber cloth is a much safer choice for most cabinet finishes.
How I Know When My Kitchen Cabinets Are Clean Enough
There is a point when you can stop cleaning. I think it helps to know what you are looking for, especially when a kitchen has many cabinets.
Run a clean, dry microfiber cloth gently over a few cabinet doors. It should move smoothly without picking up sticky residue.
Look at the doors from different angles. Grease can be difficult to spot under certain lighting, particularly on darker finishes.
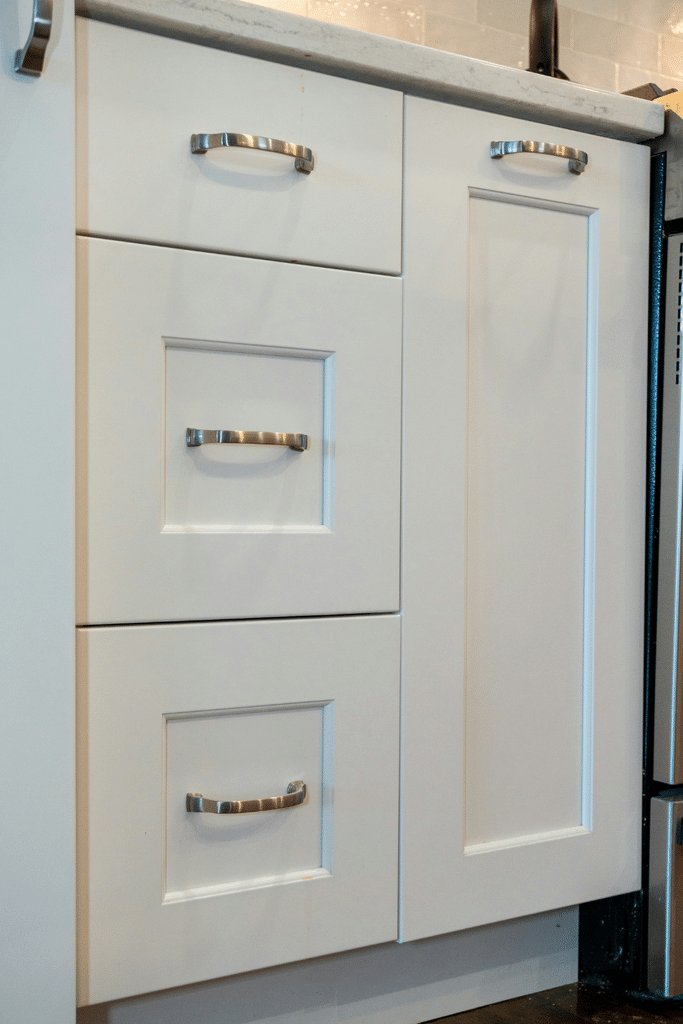
Check the areas around handles, corners, and the bottom edges of cabinet doors. These are the little places that are easy to miss.
If you have glass cabinet inserts, check for fingerprints and cleaning streaks.
Open a few cupboards to make sure the shelves are dry and free from crumbs.
Credit: Canva
I would also take a moment to step back and look at the whole room. Clean cabinets often make the countertop, backsplash, and kitchen accessories feel more noticeable.
This is a good time to put away anything that does not need to stay on the counter. A little breathing room helps show off the clean cabinet surfaces.
Why I Love the Feeling of a Freshly Cleaned Kitchen
A clean kitchen does not need expensive renovations, new cabinet doors, or a complete change of style.
Sometimes, the most satisfying update is simply removing the grease that has built up over time, cleaning the handles, and giving the cabinet surfaces the care they need.
I would start with one section today. Choose the cabinets around the stove, gather your cloths, prepare a gentle soap solution, and give yourself enough time to work without rushing.
You can finish the remaining cupboards another day. There is no reason to turn a simple cleaning task into an exhausting weekend project.
How often should I clean kitchen cabinets?
I would give frequently used cabinet doors a quick wipe every week. A deeper cleaning once a month works well for many kitchens, although cabinets near the stove may need more frequent attention.
What is the safest homemade cleaner for kitchen cabinets?
My first choice is a simple mixture of two cups of warm water with one teaspoon of mild dish soap. It works well for many cabinet finishes, but I would always check the manufacturer’s care instructions first.
Can I use vinegar to clean kitchen cabinets?
I would be careful with vinegar because its acidity can affect some cabinet finishes. It is not suitable for every type of wood, paint, or protective coating. Mild dish soap and water are a gentler starting point.
How do I remove old sticky grease from kitchen cabinets?
I would start with warm water and mild dish soap. Hold a well wrung damp cloth against the greasy area for 20 to 30 seconds, wipe gently, rinse with a clean damp cloth, then dry. Repeat if needed, and use a cabinet safe degreaser only if the finish allows it.