
Live Beautifully at Home


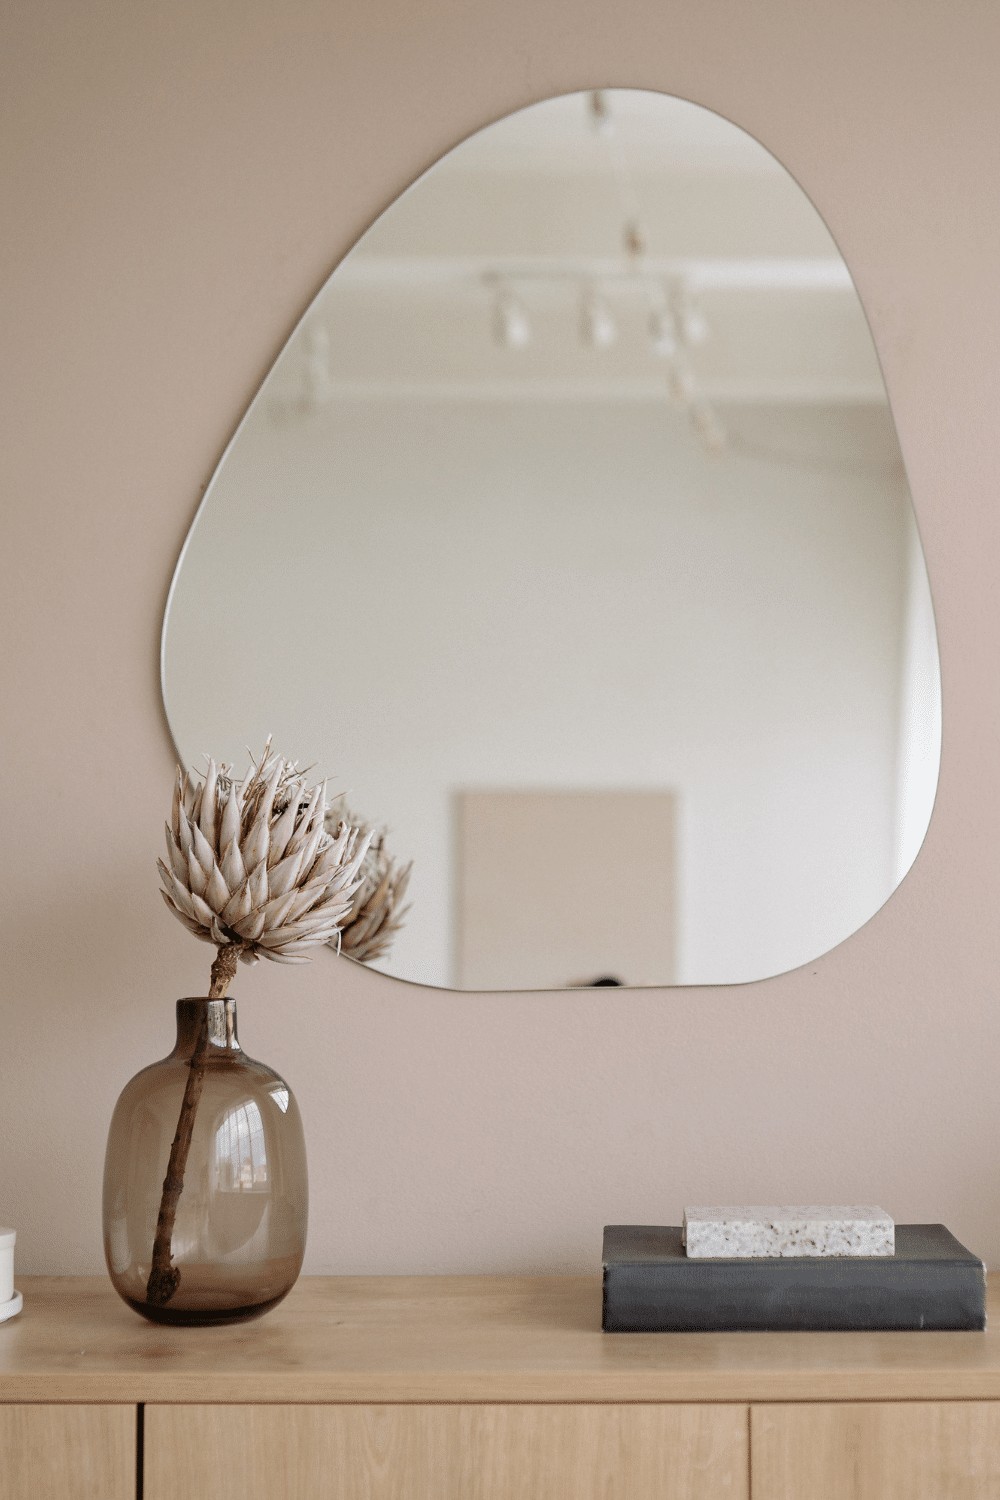
How to Decorate a Mirror to Add Charm and Personality to Any Room
 Rhonda
My Blue Creek Home Founder & Editor
I spent over 12 years in decorative painting and faux finishing, starting with a faux finishing company I co-owned in Mississippi that...
November 11, 2026
14 min read
Leave a comment
Image Notice. Some images featured in this article may originate from third-party sources and are used for illustrative purposes only. Please review our Image Credits Policy for full attribution information.
There is something about a mirror that makes a room feel different. It catches the daylight, adds a little depth, makes a small corner feel more open, and gives an empty wall a reason to exist. But I think a mirror can do so much more than reflect what is in front of it. When you decorate a mirror with the right materials, colors, and details, it becomes part of the room’s personality.
If you have a plain mirror that feels a little boring, or you have found a beautiful mirror that needs something extra, you are in the right place. I love the idea of giving an ordinary mirror a little character without spending a fortune. You do not need expensive materials or complicated craft skills. A few thoughtful choices can make a simple mirror feel like something you would find in a lovely home decor shop.
The trick is knowing where to start, what materials work well, and when to stop adding details. I want to help you decorate a mirror in a way that feels personal, suits your home, and looks beautiful for years.
Why I Think a Decorated Mirror Changes a Room
Credit: Canva
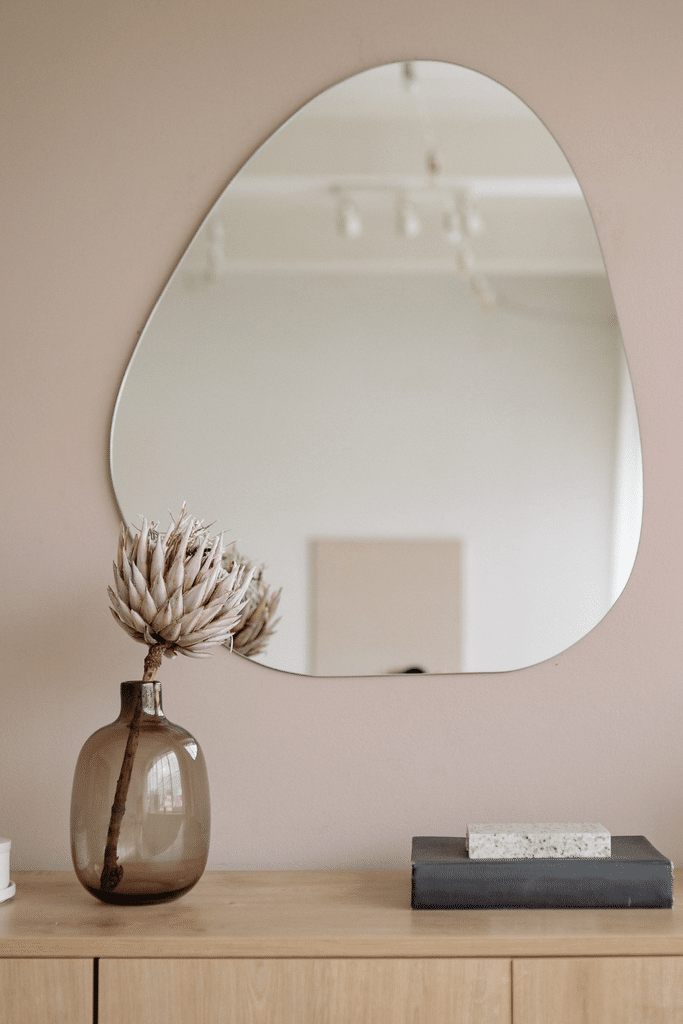
A mirror has a special place in home decor because it brings together two things we all want in a room, beauty and function. It gives you somewhere to check your appearance while adding light and visual interest to an otherwise empty wall.
I especially love mirrors in rooms that feel a little dark or lack personality. A decorative frame can introduce warmth, texture, or a touch of color without requiring a complete room makeover.
The other thing I appreciate is how flexible mirrors are. A simple round mirror can become a soft focal point with a wooden frame, while a rectangular mirror can take on a completely different personality with a little paint or decorative trim.
You also have plenty of freedom when choosing your style. You can go rustic, romantic, modern, coastal, vintage, or somewhere in between. The important thing is making sure the mirror feels connected to the rest of your room.
Quick Tips I Would Follow Before Starting
• Choose a mirror that has a good shape and a clean, undamaged surface before adding decorations.
• Keep decorative materials on the frame whenever possible, especially when working with glue or paint.
• Pick two or three colors that already appear in your room to create a natural connection.
What You Will Need
The materials depend on the style you want, but these are the supplies I would prepare for a simple mirror decorating project.
• A plain mirror with a frame or an unframed mirror, approximately $15 to $40 for an affordable option.
• Acrylic craft paint, approximately $5 to $10 per set.
• Small paintbrushes, approximately $4 to $8.
• Decorative wooden trim or lightweight molding, approximately $10 to $25.
• Craft glue or mirror compatible adhesive, approximately $6 to $15.
• Painter’s tape, approximately $4 to $7.
You do not need to purchase everything on this list. I would start with the mirror, choose one decorating style, then buy only the materials that support that idea.
How I Would Choose the Right Mirror First
Before thinking about paint, flowers, or decorative trim, I would spend a little time choosing the right mirror. This decision affects the entire project because the shape, size, and existing frame determine what will work well.
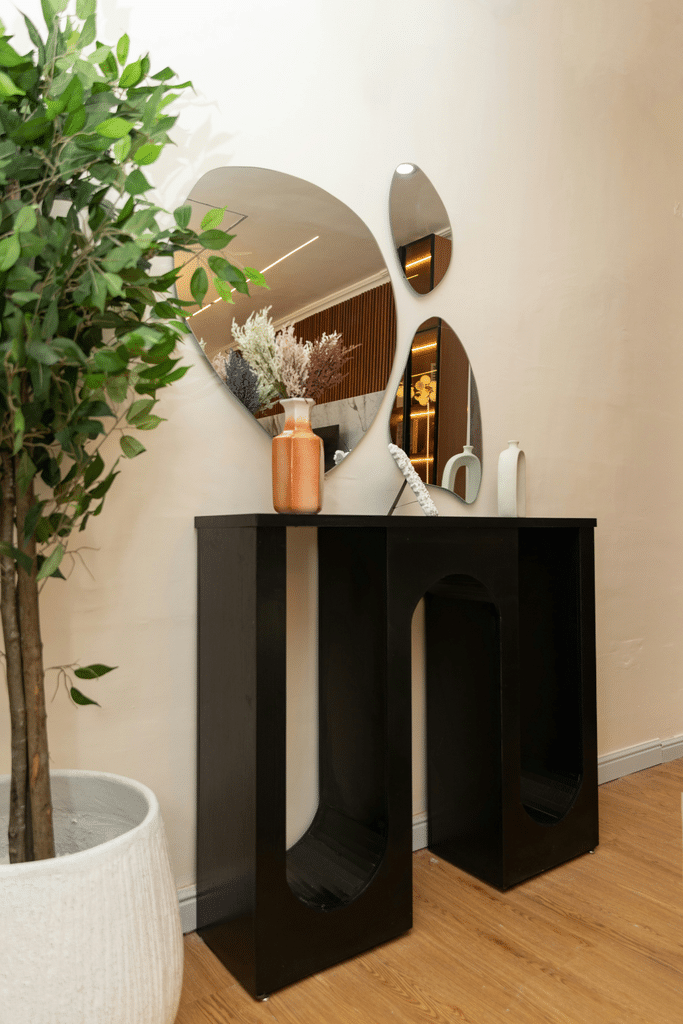
For a small room, I love round mirrors because their curved shape softens walls filled with straight furniture lines. They work beautifully above a small console table, in an entryway, or above a bathroom vanity.
Rectangular mirrors are a lovely choice when you want something more structured. A tall mirror can make a narrow wall feel taller, while a wide horizontal mirror works nicely above a dresser or a long piece of furniture.
One thing I would skip is choosing a mirror simply because it is fashionable. A shape that works with your furniture and wall space is far more useful than something that looks lovely in a product photo.
Credit: Canva
How I Would Prepare the Mirror for Decorating
This is the part I would give a little extra attention because good preparation makes the decorating process much easier.
Start by removing dust from the frame with a dry microfiber cloth. If there is grease or sticky residue, clean the frame with a suitable cleaner and let it dry completely.
Clean the glass with a glass cleaner. Spray the cleaner onto your cloth instead of directly onto the mirror, especially around the edges. This helps prevent liquid from reaching the backing, which can cause damage over time.
If you are working with a wooden frame, lightly sand any rough areas. You do not need to remove every bit of the original finish. The goal is to create a slightly smoother surface that allows the new paint to adhere properly.
For a metal frame, check whether the paint you have chosen is suitable for metal. Some surfaces need a primer before painting, so read the product instructions before starting.
How I Would Decorate a Mirror With Paint
Paint is one of the easiest ways to give an ordinary mirror a different personality. It is also one of the most affordable options, especially if the existing frame is in good condition.
For a soft, timeless look, I would consider warm white, cream, beige, or a muted sage green. These colors work beautifully in rooms with natural wood, linen curtains, and neutral furniture.
If your room has darker furniture, a deep brown, charcoal, or muted black frame can create a lovely contrast.
Begin by applying a suitable primer if the frame material requires it. Allow it to dry according to the manufacturer’s instructions, then apply your chosen paint in thin, even coats.
How I Would Add Wooden Trim for Extra Character
If you want your mirror to feel a little more substantial, wooden trim is one of my favorite options.
It can give a plain mirror the appearance of a custom framed piece without the cost of buying a completely new mirror. It also introduces natural texture, which I think makes a room feel warmer.
Start by measuring each side of the mirror. Write down the measurements, including the corners, before purchasing your trim.
For a rectangular mirror, you can use four pieces of lightweight wooden molding. The corners can be cut at 45 degree angles to create a neat frame.
I particularly love natural oak, light walnut, and softly painted wood. They add warmth without making the mirror feel too heavy.
How I Would Use Rope and Natural Materials
There is something lovely about natural textures around a mirror. They bring a relaxed feeling to a room, especially when the rest of the decor includes woven baskets, wooden furniture, or soft fabrics.
For a simple coastal look, decorative rope can create a beautiful border around a round mirror. Choose a rope that is thick enough to be visible but not so bulky that it overwhelms the mirror.
Measure the circumference of the frame before cutting your rope. I would purchase a little extra material to allow for adjustments at the joining point.
Lay the rope around the frame first to check how it fits. Then attach it using an adhesive that is suitable for both the rope and the frame.
Work in small sections so the rope stays in place. Keep the joining point at the bottom of the mirror where it is less noticeable.
You can also use small wooden beads, bamboo details, or woven decorative pieces. These materials work particularly well when you want a relaxed, natural look.
However, I would avoid combining too many different textures. Rope, large beads, artificial flowers, and metallic details can compete with one another.
Choose one main material and let it do the work.
How I Would Make a Mirror Feel Romantic With Flowers
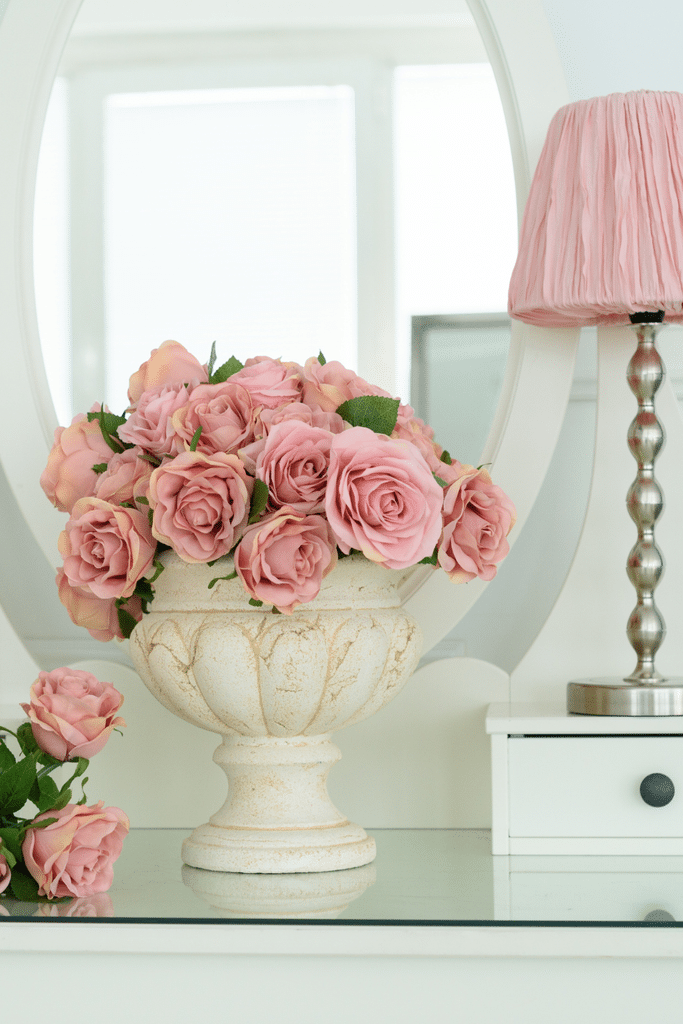
If you love softer details, flowers can give a mirror a completely different personality. I particularly like this idea for a bedroom, dressing area, or a small decorative corner.
Artificial flowers are usually the more practical option because they do not need water and can keep their shape for a long time. Look for realistic fabric flowers with natural looking leaves and soft colors.
Choose a small color palette before purchasing anything. Cream, blush pink, dusty rose, and pale green work beautifully together.
Start by arranging the flowers along one corner of the mirror. You can create a small cluster at the top, or allow a delicate arrangement to follow one side of the frame.
I prefer this asymmetrical arrangement because it feels softer and leaves plenty of the mirror visible.
Attach the flowers to a separate lightweight decorative base or an existing frame whenever possible. Avoid placing adhesive directly onto the reflective surface.
For a more subtle look, use just a few flowers with small leaves. You do not need a large arrangement to make the mirror feel special.
Keep the decorations away from the areas where you need a clear reflection. A mirror covered with flowers can become difficult to use, especially in a dressing area.
Credit: Canva
How I Would Style the Decorated Mirror in the Room
Once the decorating work is complete, the next decision is where to put the mirror. This part matters because even a beautiful mirror can feel out of place when it is positioned without considering the rest of the room.
I would start by looking at what the mirror reflects. A mirror placed opposite a window can bring more daylight into a room. One facing a beautiful arrangement of plants, artwork, or an attractive part of the room can make that area feel more noticeable.
Try to avoid positioning it where it reflects clutter, open storage, or an area that feels unfinished. The reflection becomes part of your decor, so it deserves a little thought.
For an entryway, a mirror above a console table creates a useful spot for checking your appearance before leaving. A small vase, a decorative bowl, and one or two books can complete the arrangement.
In a bedroom, a full length mirror works beautifully near a wardrobe or dressing area. Make sure it is securely mounted or supported so it cannot tip over.
In a living room, a larger mirror can work above a console or fireplace. Leave enough breathing space around the frame so its decorative details remain visible.
If you are working with small living room decor, a mirror can also help make the room feel more open. I would choose one larger mirror over several tiny mirrors when the wall is narrow or already busy.
How I Would Keep the Mirror Beautiful Over Time
A decorated mirror needs a little care, especially when it includes rope, flowers, wood, or painted details.
For the glass, use a soft microfiber cloth and a suitable glass cleaner. Avoid spraying liquid directly onto the frame or allowing moisture to collect around the edges.
For painted frames, dust regularly with a soft cloth. If you notice a small mark, use a slightly damp cloth only when the paint finish allows it.
Natural rope and woven details can collect dust. A soft brush attachment on a vacuum cleaner can help clean these areas gently.
Artificial flowers can be refreshed with a gentle shake or a soft brush. Avoid soaking them because some fabrics and adhesives can lose their shape when wet.
Check the frame and wall fixings occasionally, especially if the mirror is large or heavy. If anything feels loose, remove the mirror from use until the mounting is secure.
I also recommend keeping decorated mirrors away from areas with frequent splashing or high humidity unless the materials are suitable for those conditions.
Blue Creek Note
If you are unsure whether your mirror needs more decoration, step back and look at it from the doorway. That view often tells you everything. Sometimes removing one decorative piece makes the whole design feel more comfortable.
What I Would Avoid When Decorating a Mirror
A little creativity goes a long way, but there are a few mistakes I would love you to avoid before spending money on materials.
- Adding too many decorations. I know it is tempting to keep adding flowers, beads, rope, and little ornaments, especially when everything looks pretty on its own. Pick one main detail and leave enough of the original mirror visible.
- Using the wrong adhesive. Ordinary craft glue is not suitable for every mirror project. Some adhesives can damage the reflective backing, so check compatibility with mirrors and the frame material before buying.
- Ignoring the weight of the materials. Heavy wooden decorations can put extra pressure on a frame or wall fixing. Choose lightweight materials and make sure the mirror has secure support.
- Forgetting about the reflection. A decorated mirror is still meant to be useful. Keep the glass clear and think about what appears in the reflection before deciding where to hang it.
How I Would Know When My Mirror Is Ready
This is the point where I would put the paintbrush down and resist the urge to add just one more thing.
Look at the mirror from a little distance. Check whether the colors work with the room, whether the frame feels balanced, and whether the decorations leave enough space for the glass to do its job.
If you have added paint, allow it to dry fully. If you have used adhesive, follow the recommended curing time before hanging or moving the mirror.
Remove any remaining tape, clean the glass, and check the corners for loose decorations. If the mirror is wall mounted, make sure the fixings are appropriate for its weight and the type of wall.
Then take a moment to style the surrounding area. A simple table, a small plant, or a soft lamp can help the mirror feel connected to the room.
I think this final stage is where you see the value of keeping the design simple. The mirror does not need to compete with everything around it. It just needs to belong.
I Think a Mirror Deserves a Little Personality
Decorating a mirror is one of those small home projects that can make a room feel more personal without requiring a large budget or a full weekend of work.
You can begin with a little paint, add natural wooden trim, or introduce a few delicate flowers. The right choice depends on your room, your taste, and how much decoration feels comfortable to you.
I would rather see a simple mirror with one thoughtful detail than an expensive piece covered in decorations that do not belong together. A little restraint can make a big difference.
If you have been looking at a plain mirror and thinking it needs something, this is a lovely place to start. Choose your materials, prepare the frame, take your time, and enjoy the small details along the way.
Your home does not need to be filled with expensive things to feel special. Sometimes, all it takes is giving something you already own a little more character.
How can I decorate a mirror without a frame?
I would use lightweight decorative materials around the outer edge, such as rope or a suitable mirror compatible trim. Check the adhesive instructions carefully, especially when attaching anything directly to glass.
What is the cheapest way to decorate a mirror?
My favorite affordable option is painting an existing frame. A small pot of acrylic paint and a couple of brushes can cost around $10 to $15, depending on the products you choose.
How do I decorate a mirror without damaging it?
I recommend keeping paint and decorative materials on the frame whenever possible. Use painter’s tape to protect the glass, choose mirror compatible adhesive, and avoid products that can damage the reflective backing.
What colors look best when decorating a mirror?
I love warm white, beige, sage green, natural wood, and soft brown because they work with many home styles. For a stronger contrast, black or deep charcoal can also look lovely, especially in a room with lighter walls.